First Things First: What You Must Do Now

Welcome aboard!
You gave us your trust, and we want to make sure our platform delivers beyond your expectations.
To make your onboarding smooth, here are the steps we recommend you take right now to get the most from my-cbt:
1. Most critical: Create and download your portal’s recovery key
When you first log in to your portal, you will see the following message at the top:

When you click the “Set it up” button on the right, you will be taken to the Account tab in Settings. There, under the “Change password” section, you will see the “Recovery Key” section:
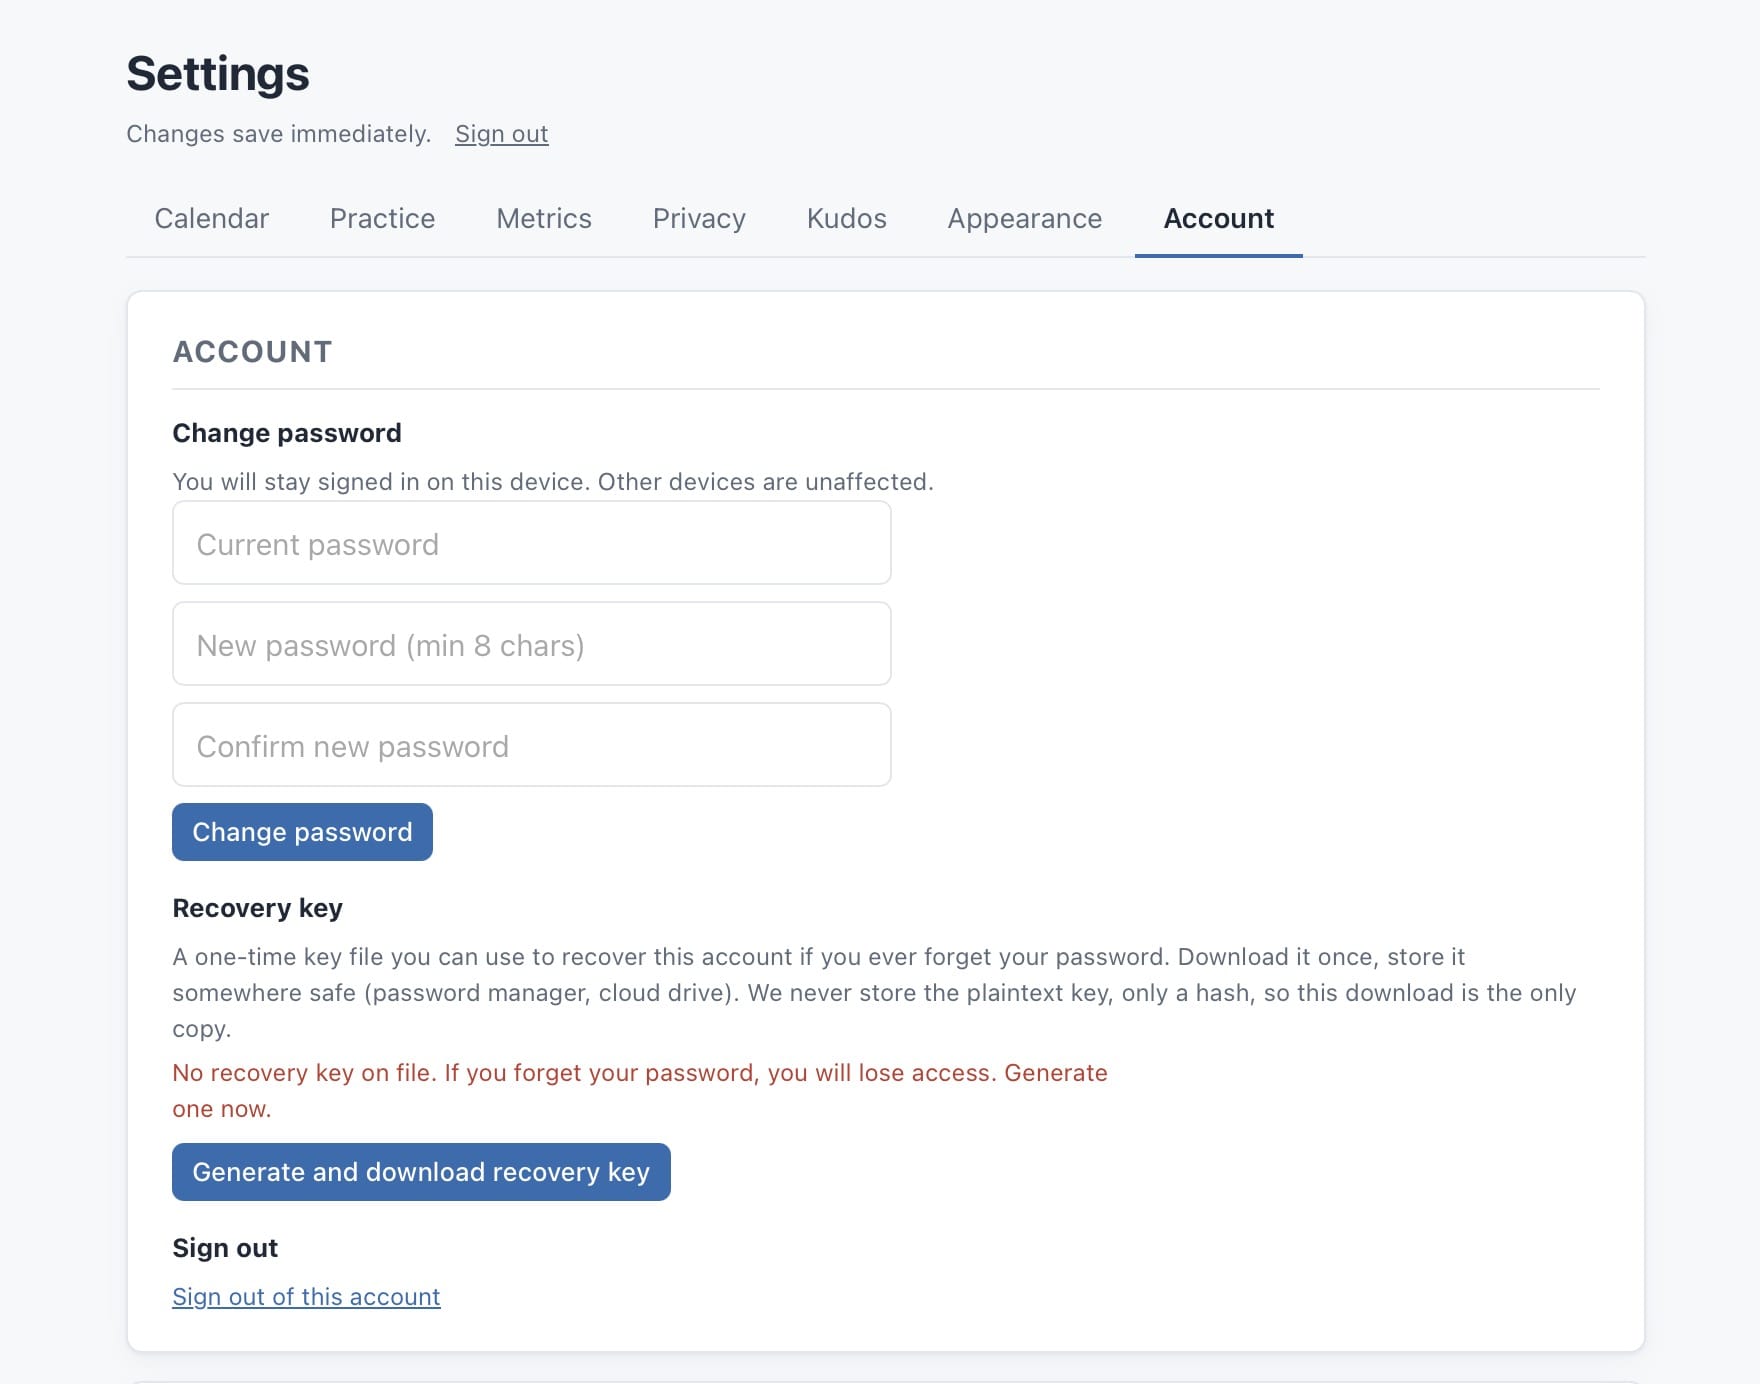
Click “Generate and download recovery key.” You will be asked to confirm. Click “Ok” and download the text file to your computer.
This is important: save the file to a backup drive or a secured cloud service that only you can access.
If you are ever locked out of your account, for whatever reason, this recovery key is how you get back in. A recovery key can only be used once. After using it, you will be prompted to generate and download a new one.
2. Set the date and time settings for your calendar
These settings determine how your my-cbt calendar, session booking, and widget behave globally.
Click the gear icon at the top right of the screen.
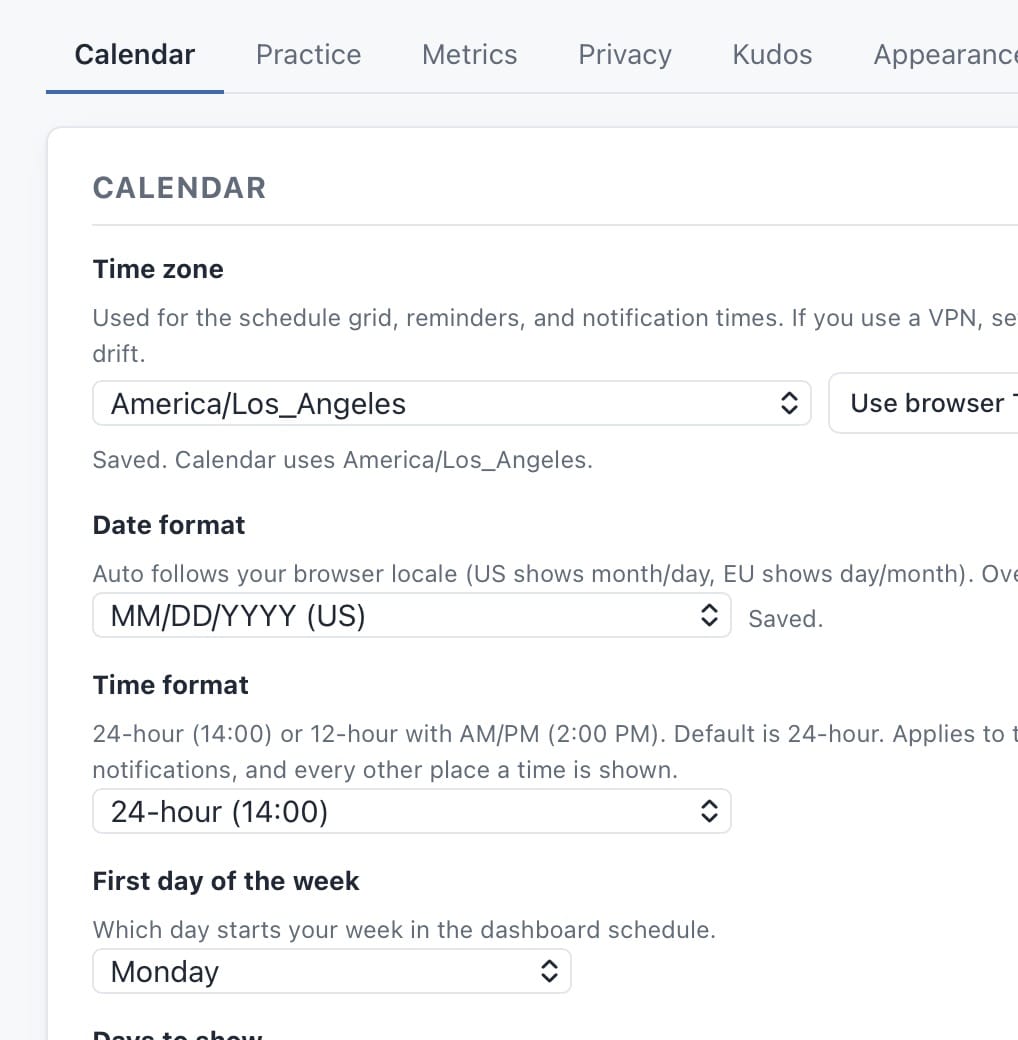
If you use a VPN or travel to a different time zone, the “Time Zone” setting will always display your calendar in the correct format. If you click “Use Browser TZ,” the time shown in your calendar will follow your browser’s time zone. This also affects the hours shown to clients if you enable the self-booking widget on your website or in the client portal.
While you’re here, you may also want to set the Date Format, Time Format, and First Day of the Week. The “Days to show” option only affects which days are visible in your dashboard calendar at any given moment.
Work Hours restrict new session bookings to the windows you define. You can add as many work-hour ranges as you need. The booking widgets will only allow clients to submit requests within those hours.
Any session already booked or requested within those hours will not appear as available in the booking widgets.
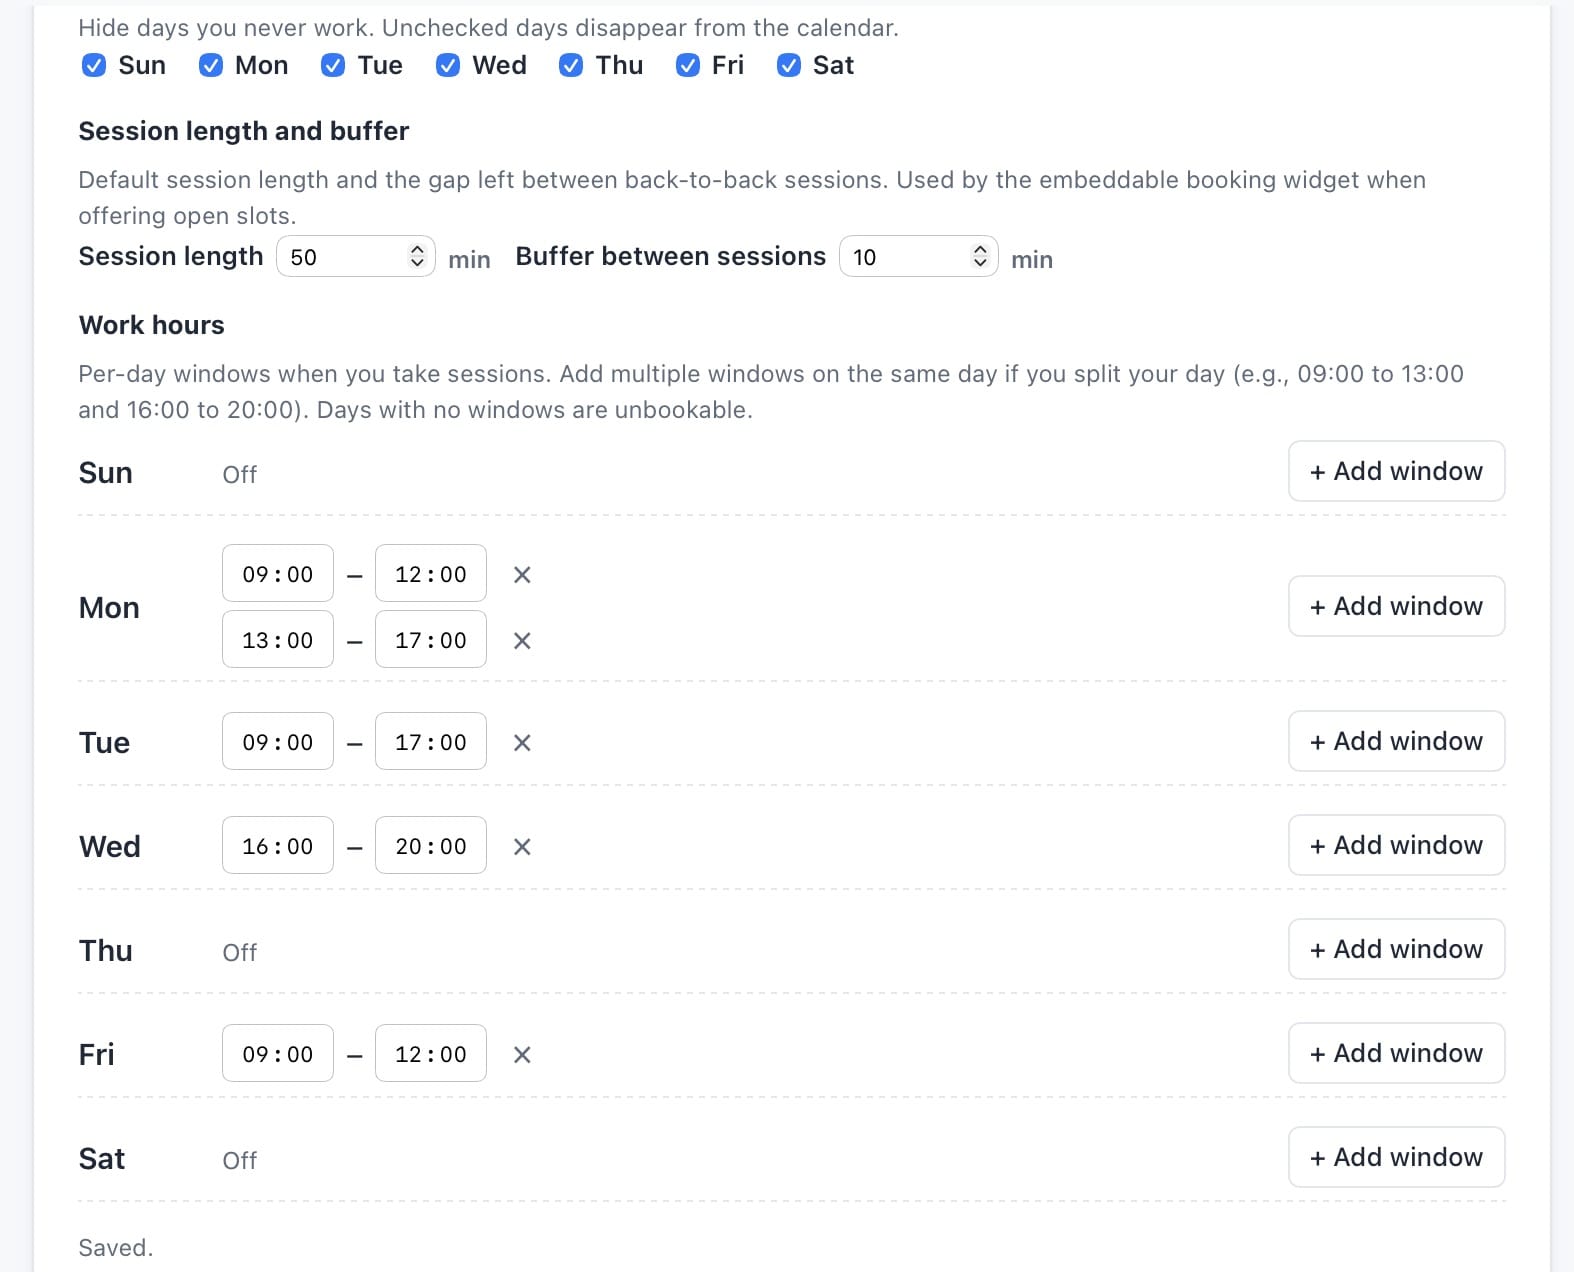
You can also set a default session length and buffer time between sessions. The defaults are 50 minutes per session and a 10-minute buffer. Both can be overridden for any individual session or appointment.
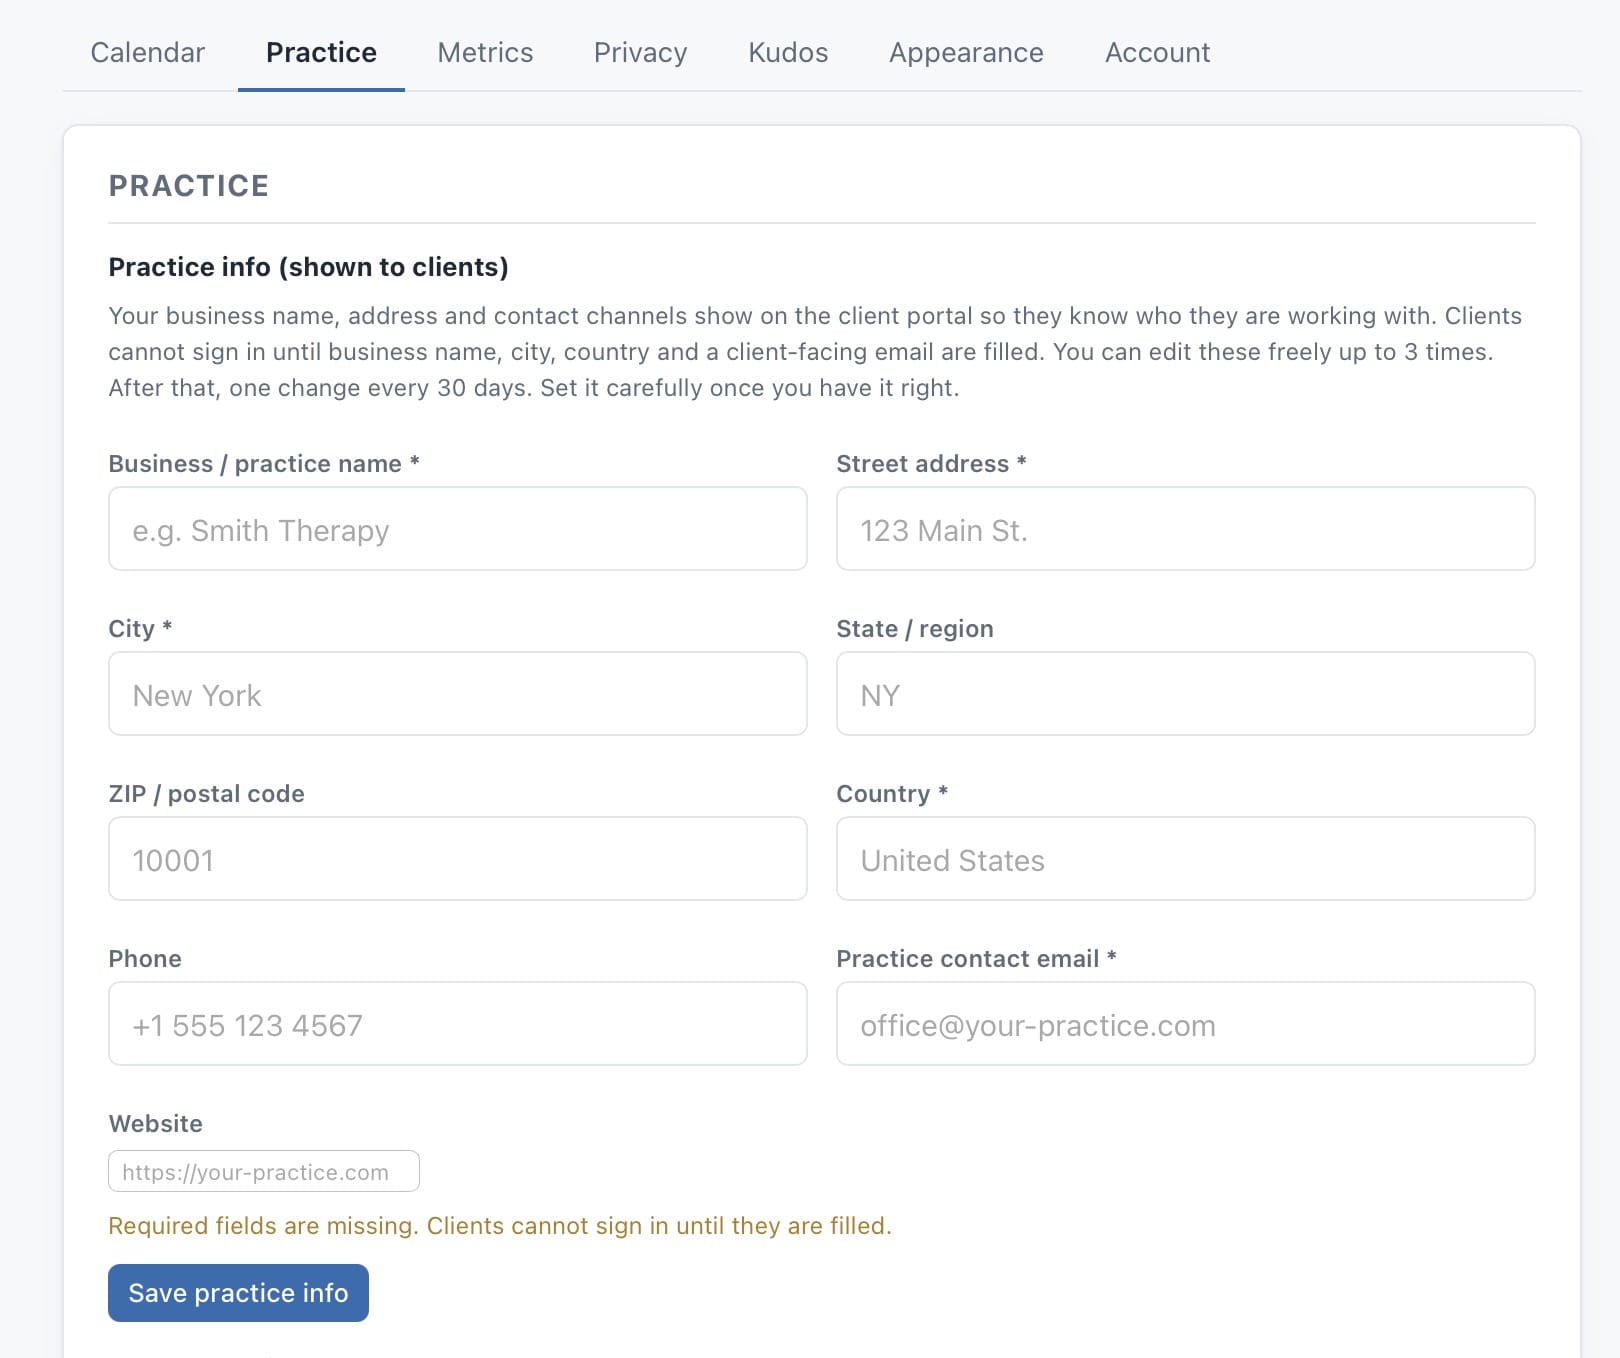
3. Your private practice info
In the next tab, “Practice,” fill in your practice name, address, and other relevant details. These are displayed to clients in the client portal. This step is required; the client-facing portal will not work without it.
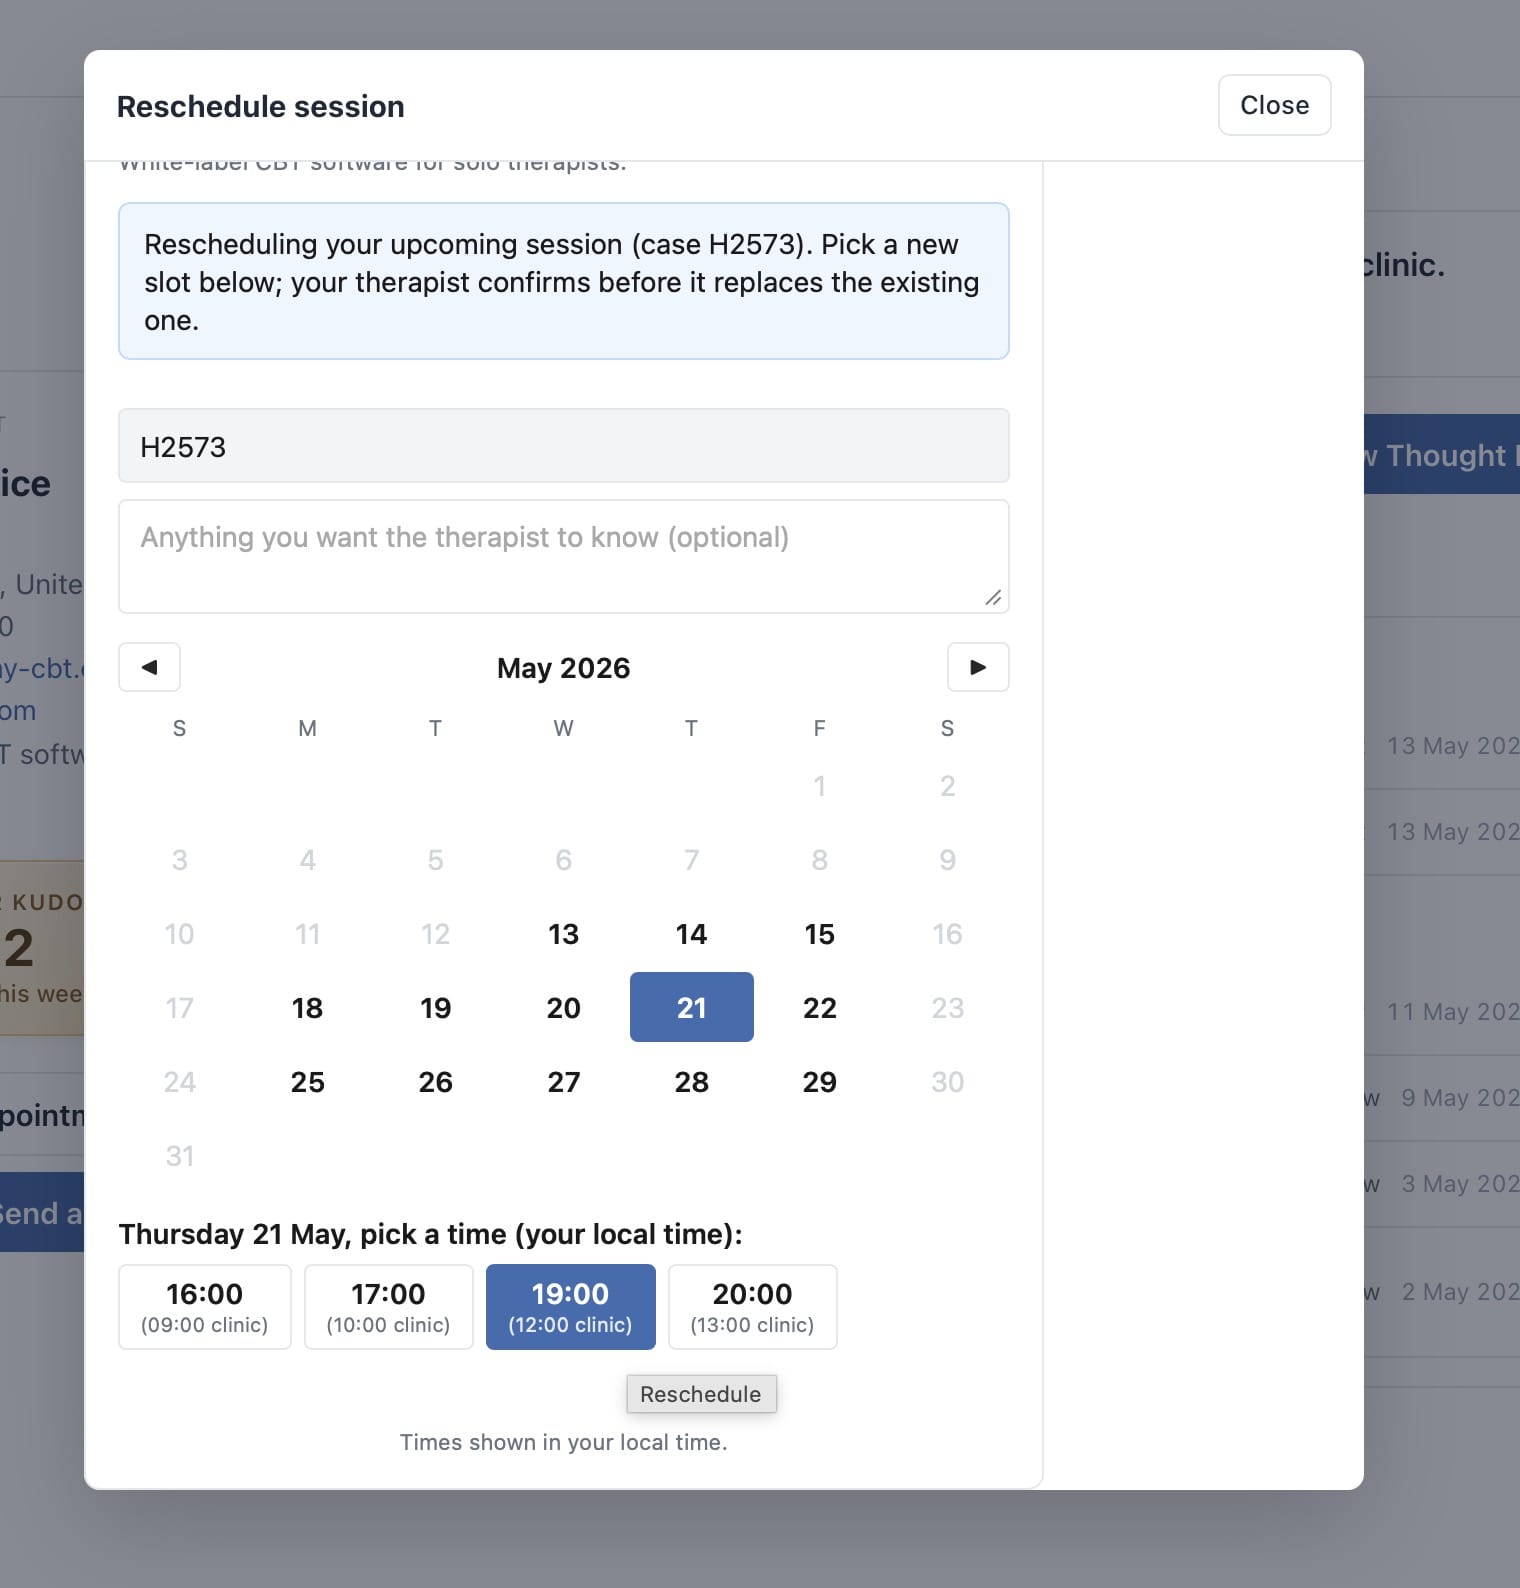
Below that section, you can choose whether logged-in clients can reschedule and book appointments from within their portal.

When enabled, clients can send requests for new sessions or reschedule based on available time slots in your live calendar:
In the Branding section below the practice info, you can change the portal’s display name, logo, and colors. Adding a Display Name replaces the “my-cbt” logo in the top left with your chosen name.
4. Set your business goals
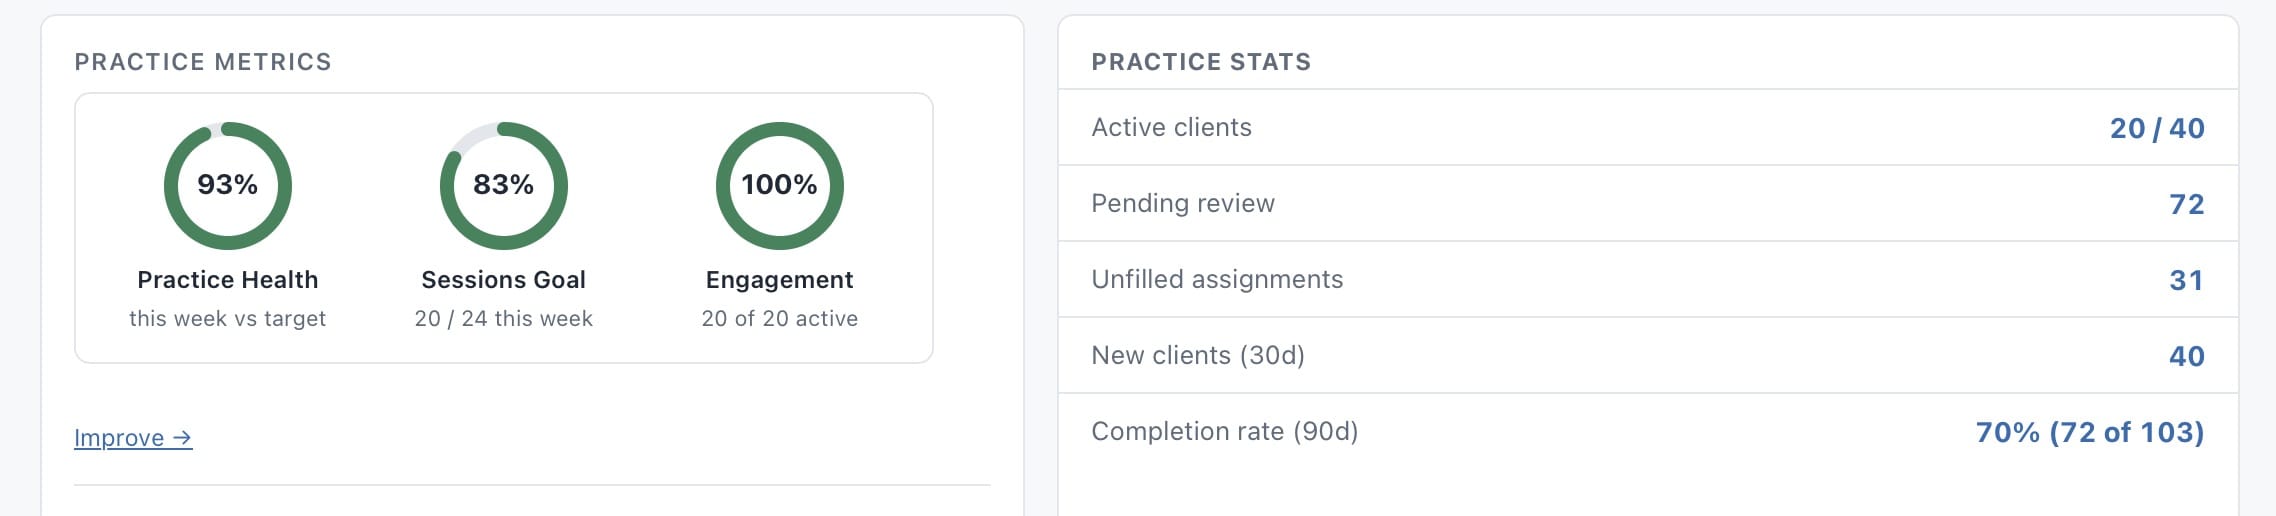
In the Metrics tab, you can set your business goals.

These settings influence how the global Practice Health metrics are calculated.
If you take the coaching add-on, you can also choose here whether to share your goals and metrics with your coach.
And that’s it!
You can now explore, add clients and sessions, try out the client portal yourself, and start working with my-cbt today.
We did our best to make the app as intuitive and easy to use as possible. If you have any suggestions, comments, requests, or questions, submit a support ticket through your portal or contact us at: [email protected]